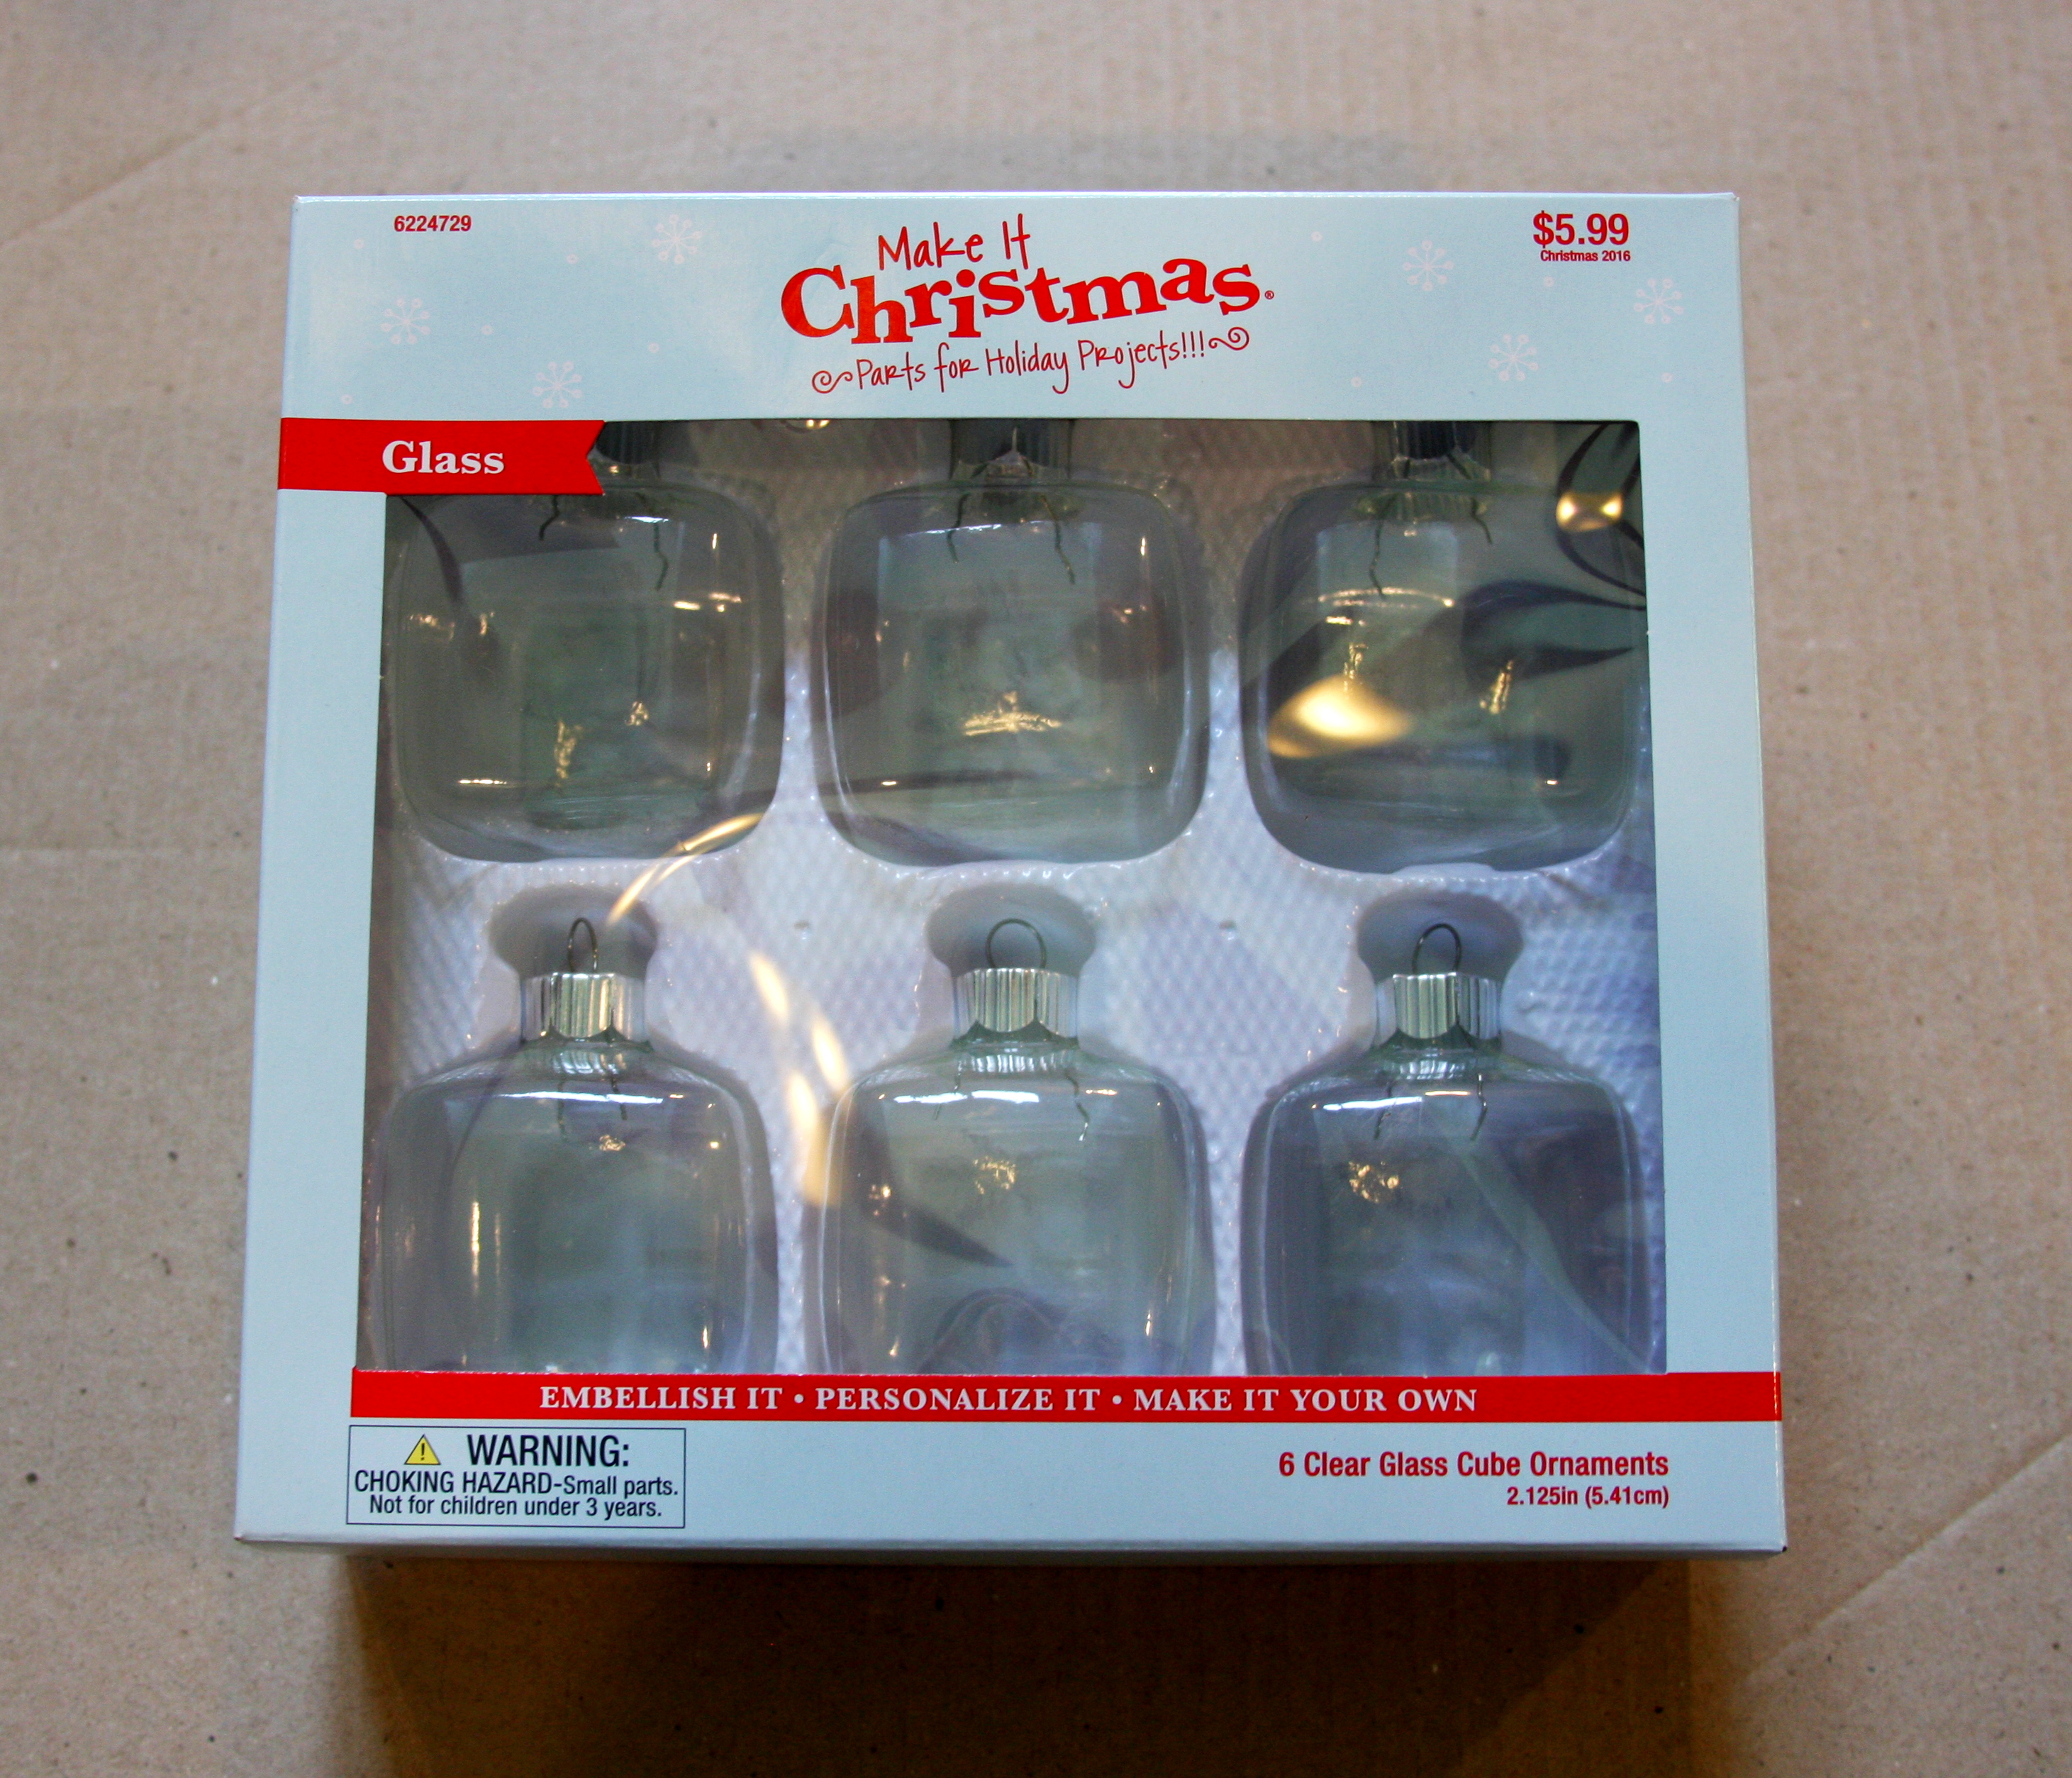
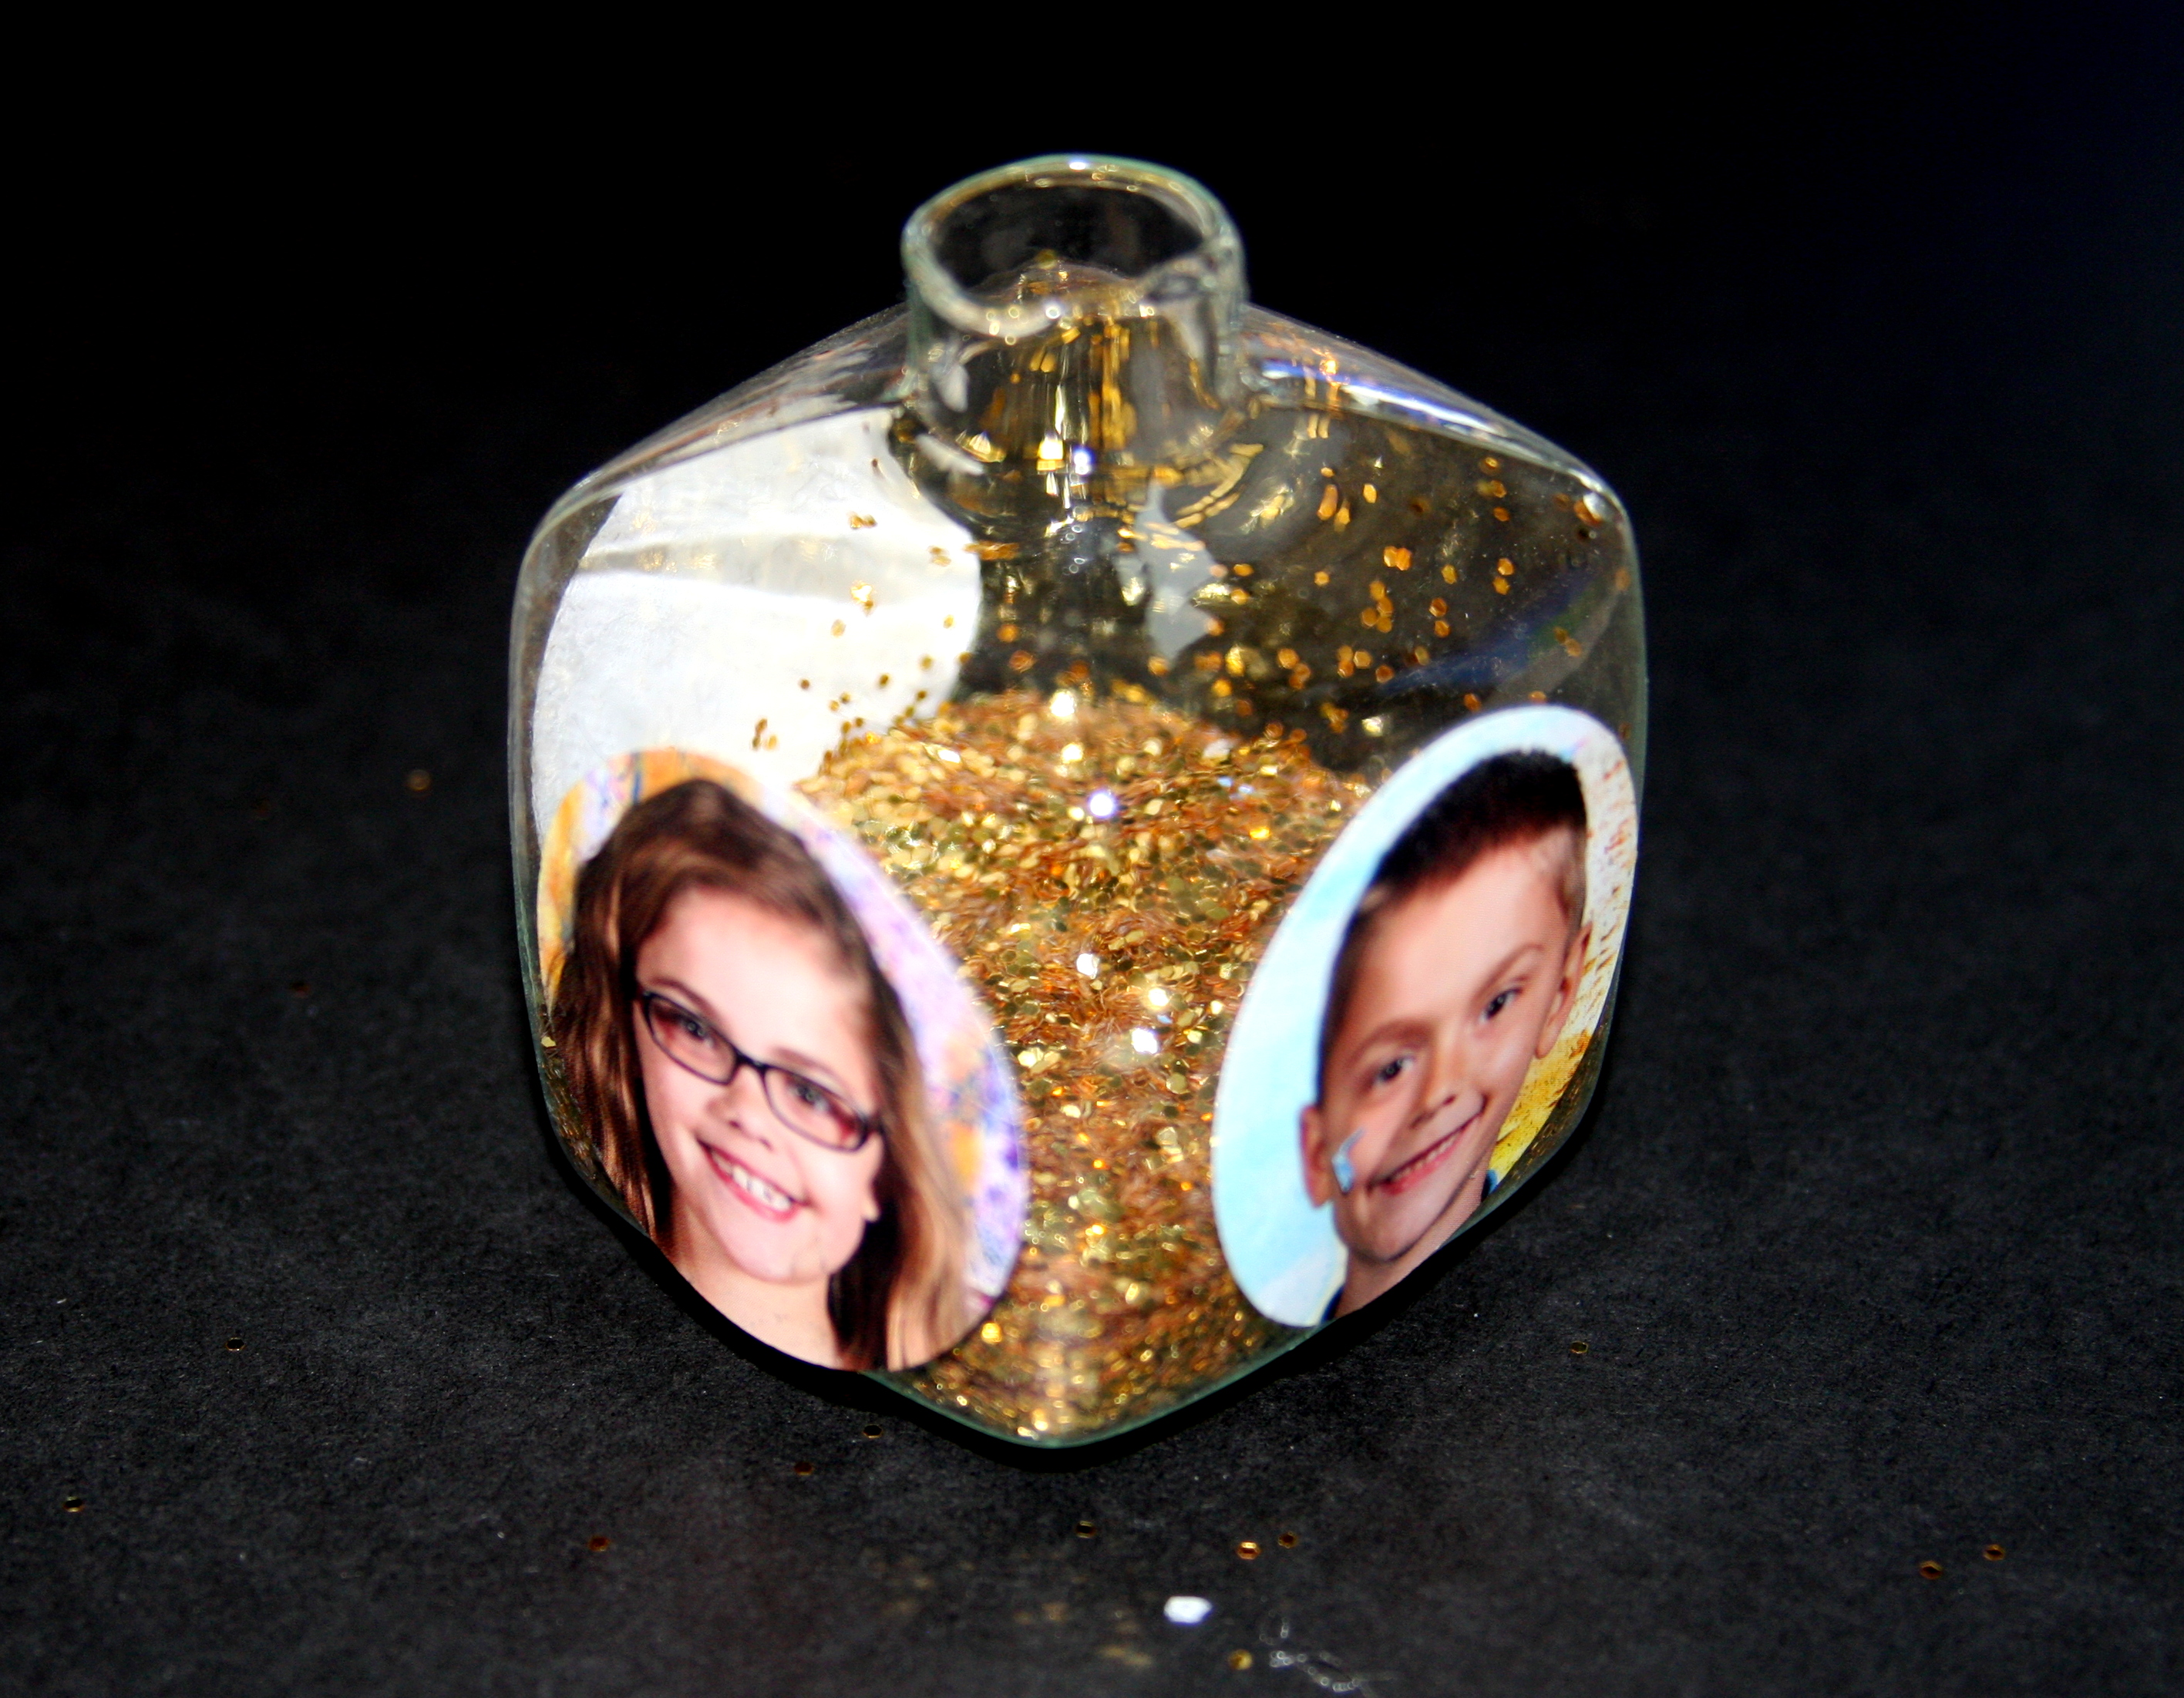
 Here is a little more Christmas in July. In addition to the square ornaments that I found from the previous post, I also ran across these cube ornaments. With these you can adhere different pictures to all four sides and the bottom. I chose to include pictures of my 3 kids on the one I made. This would be a great on your own tree or a fun crafty gift for a grandparent, aunt or uncle!
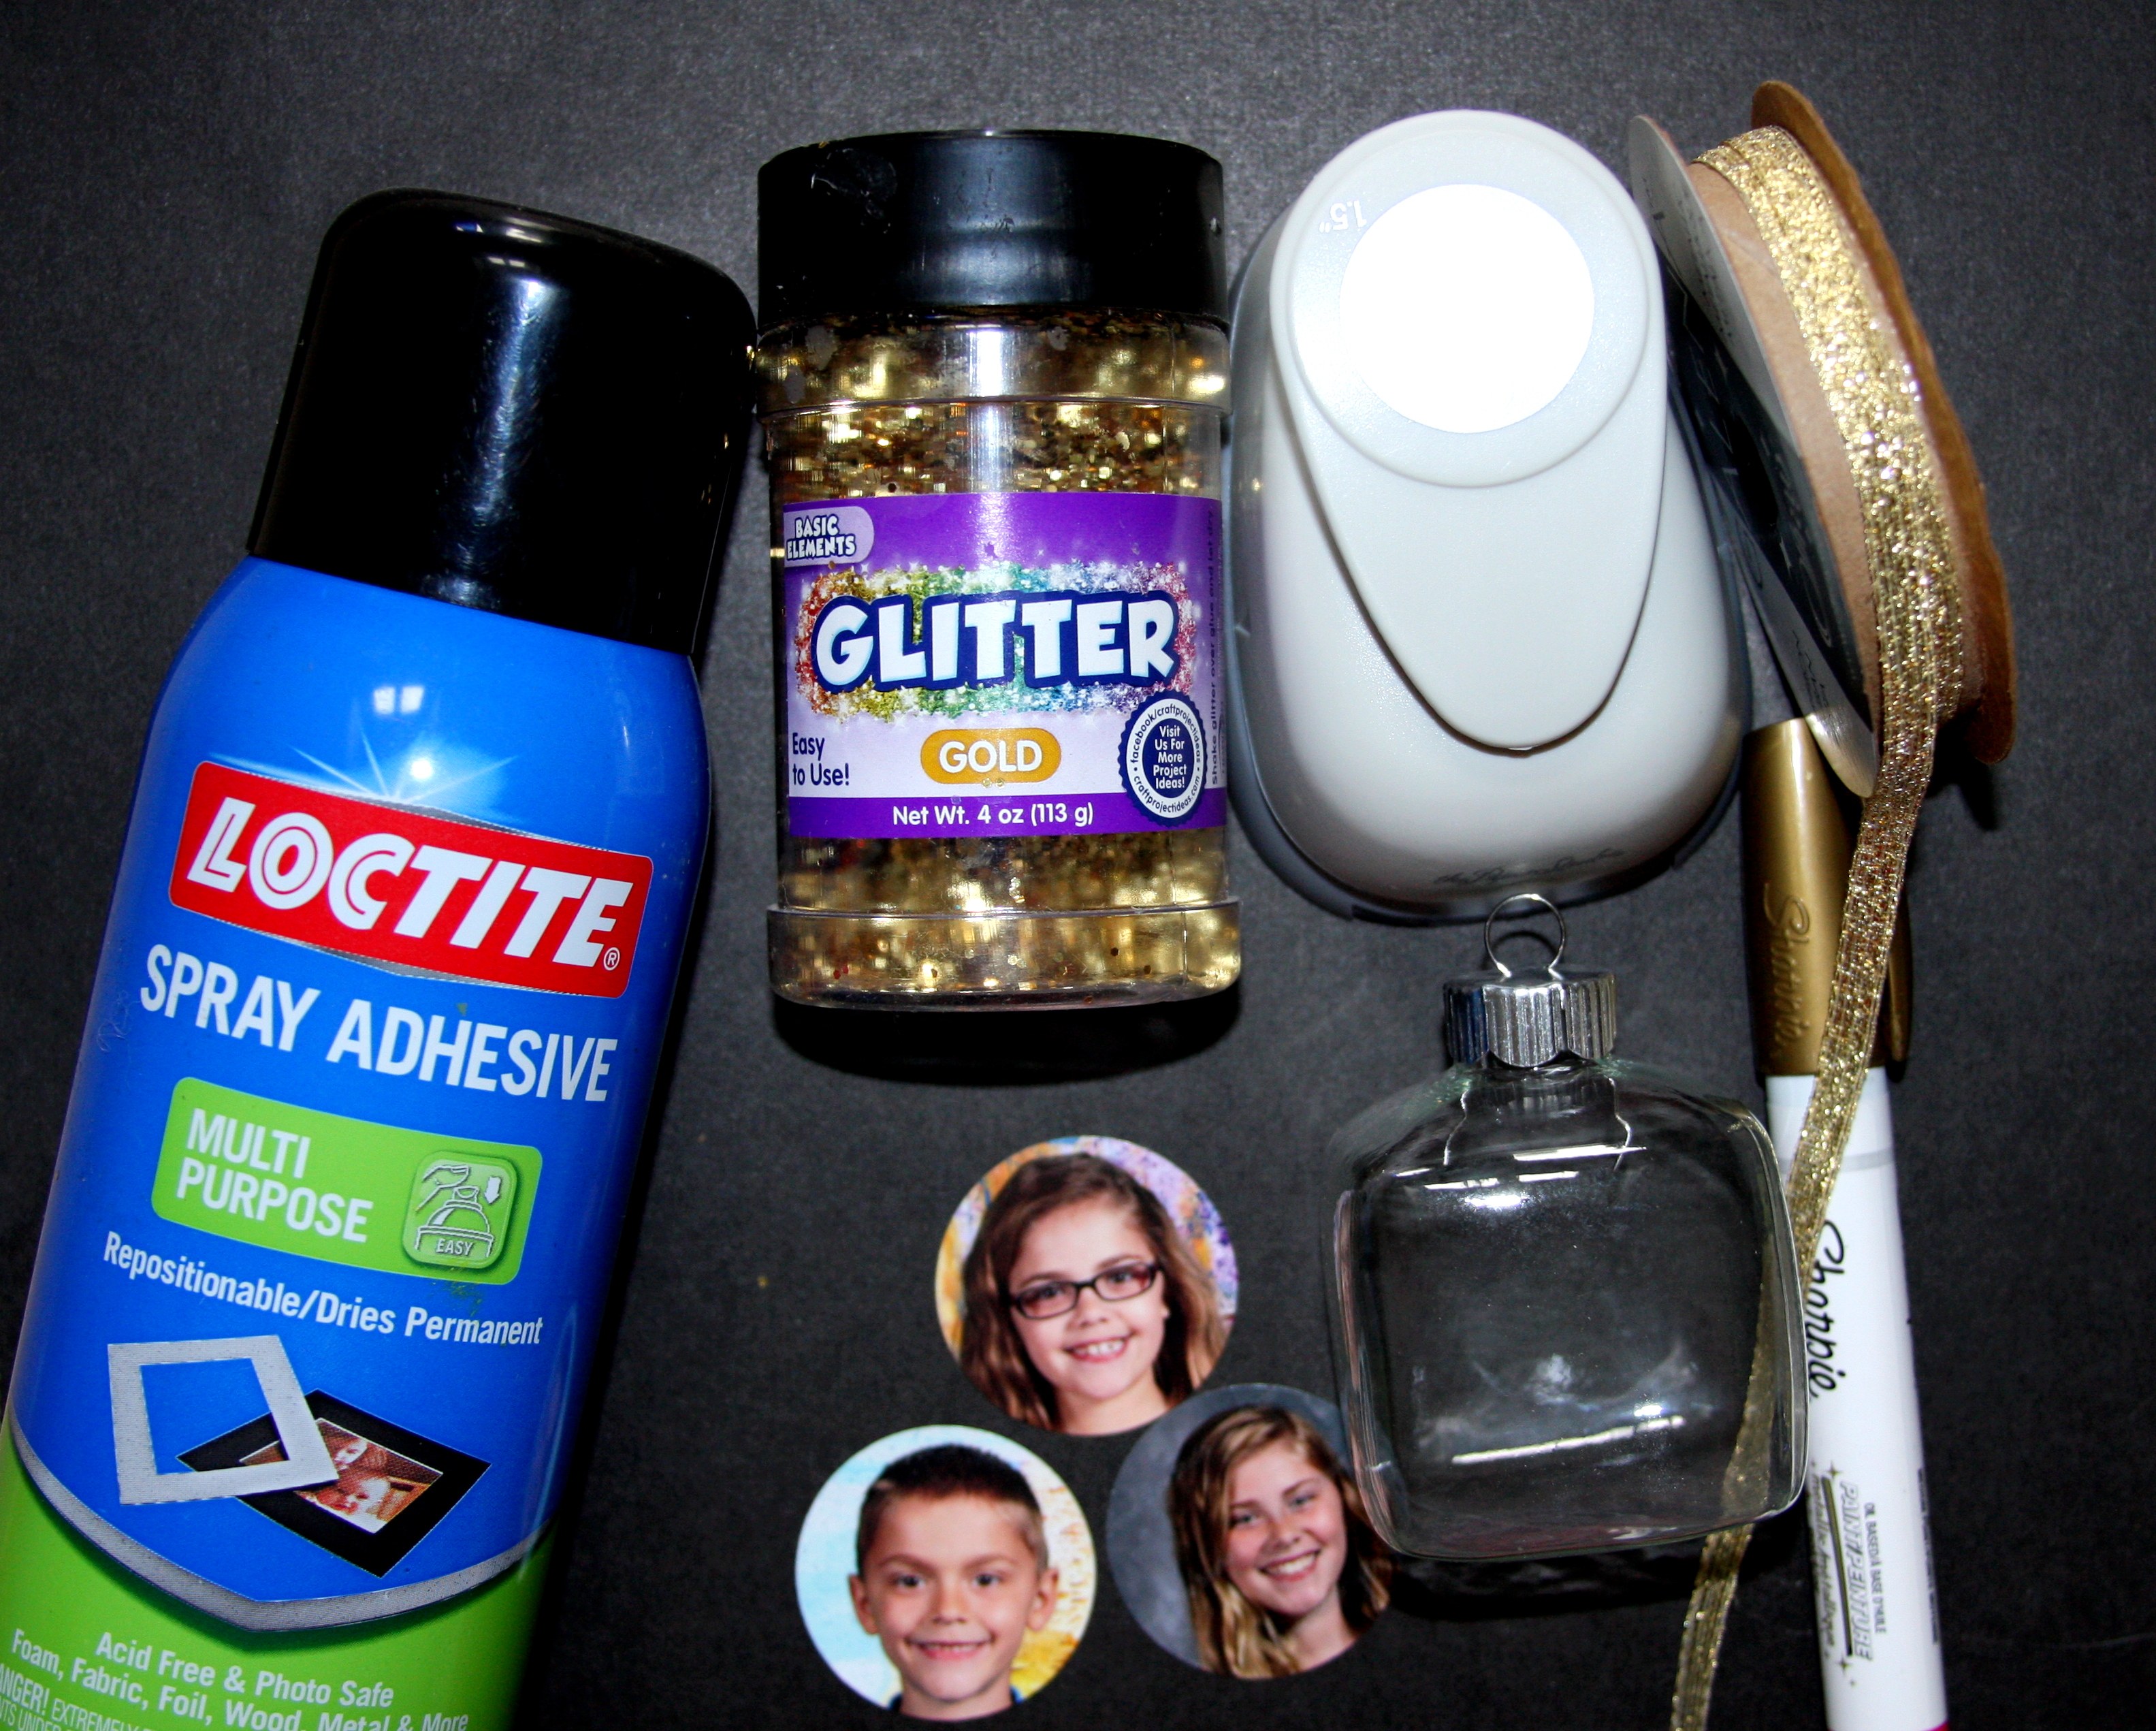
You will need:
- Glass Cubge Ornament
- 1-5 Exchange size pictures
- 1.5″ Scrap paper punch
- Glitter
- Spray Adhesive
- Ribbon
- Paint Pen

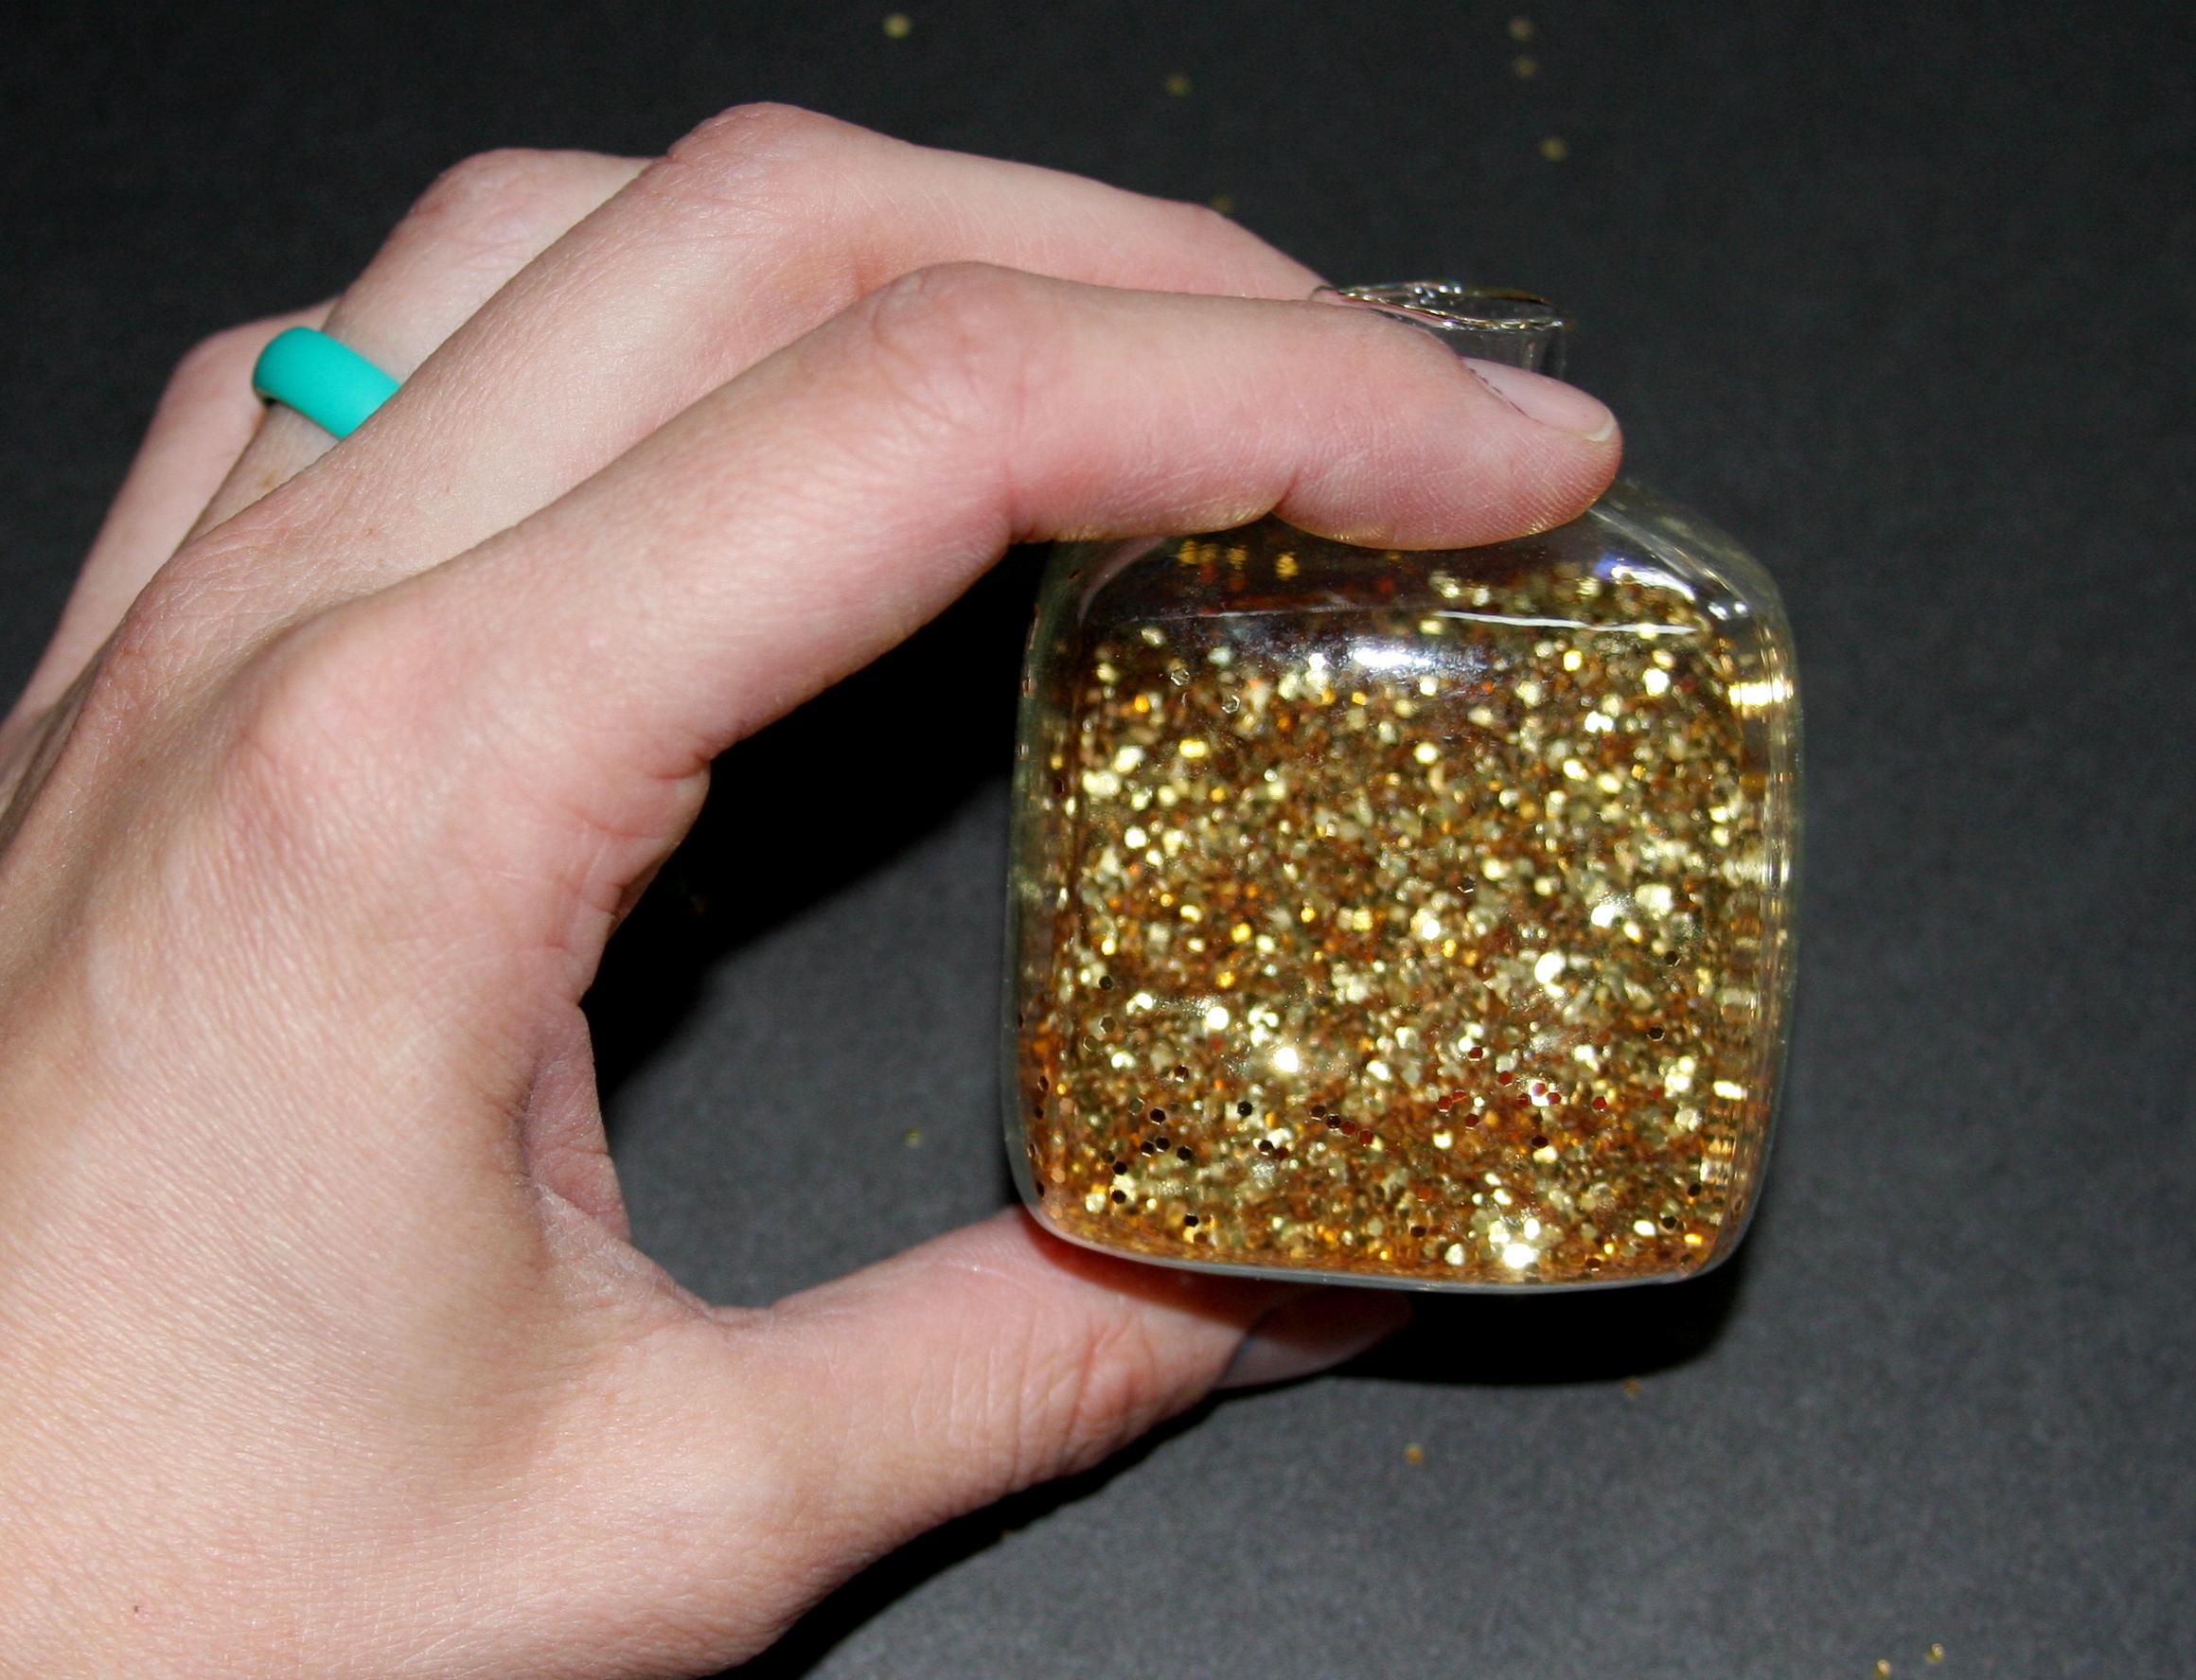
- Take the top off and pour glitter in the ornament.

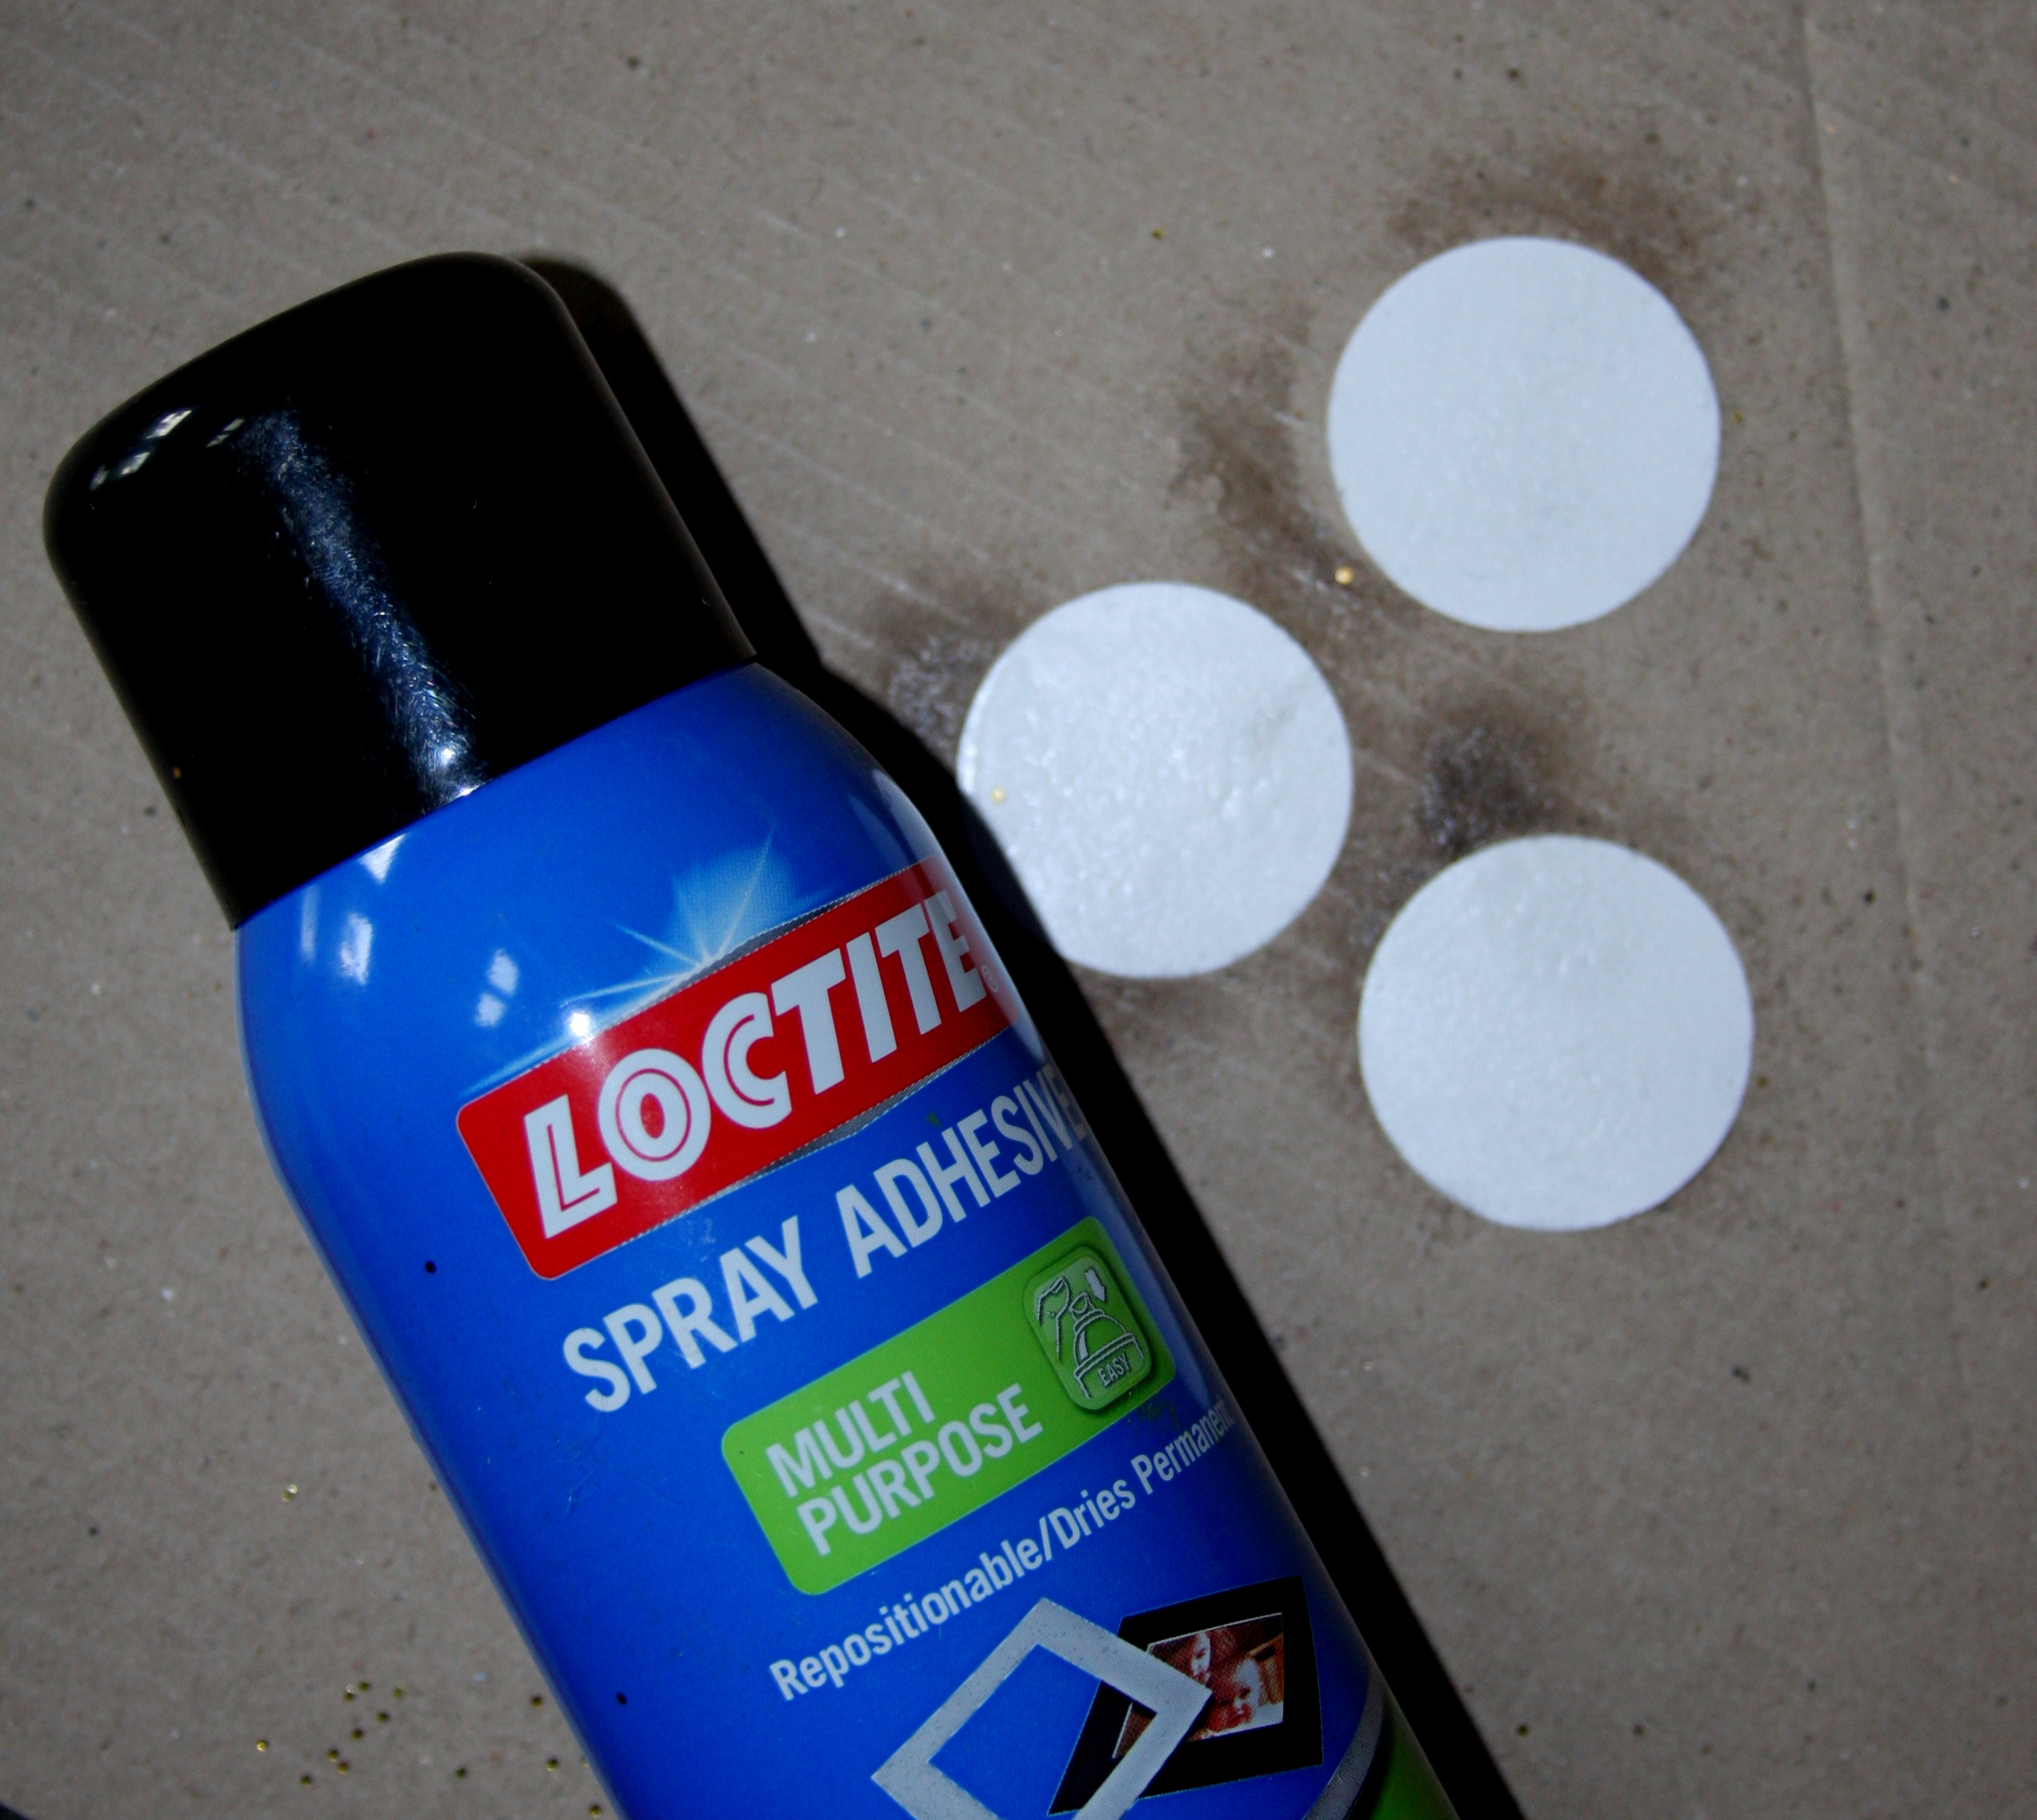
- Punch pictures out with scrap book punch and spray adhesive on the backs.

- Stick the pictures to the cube.
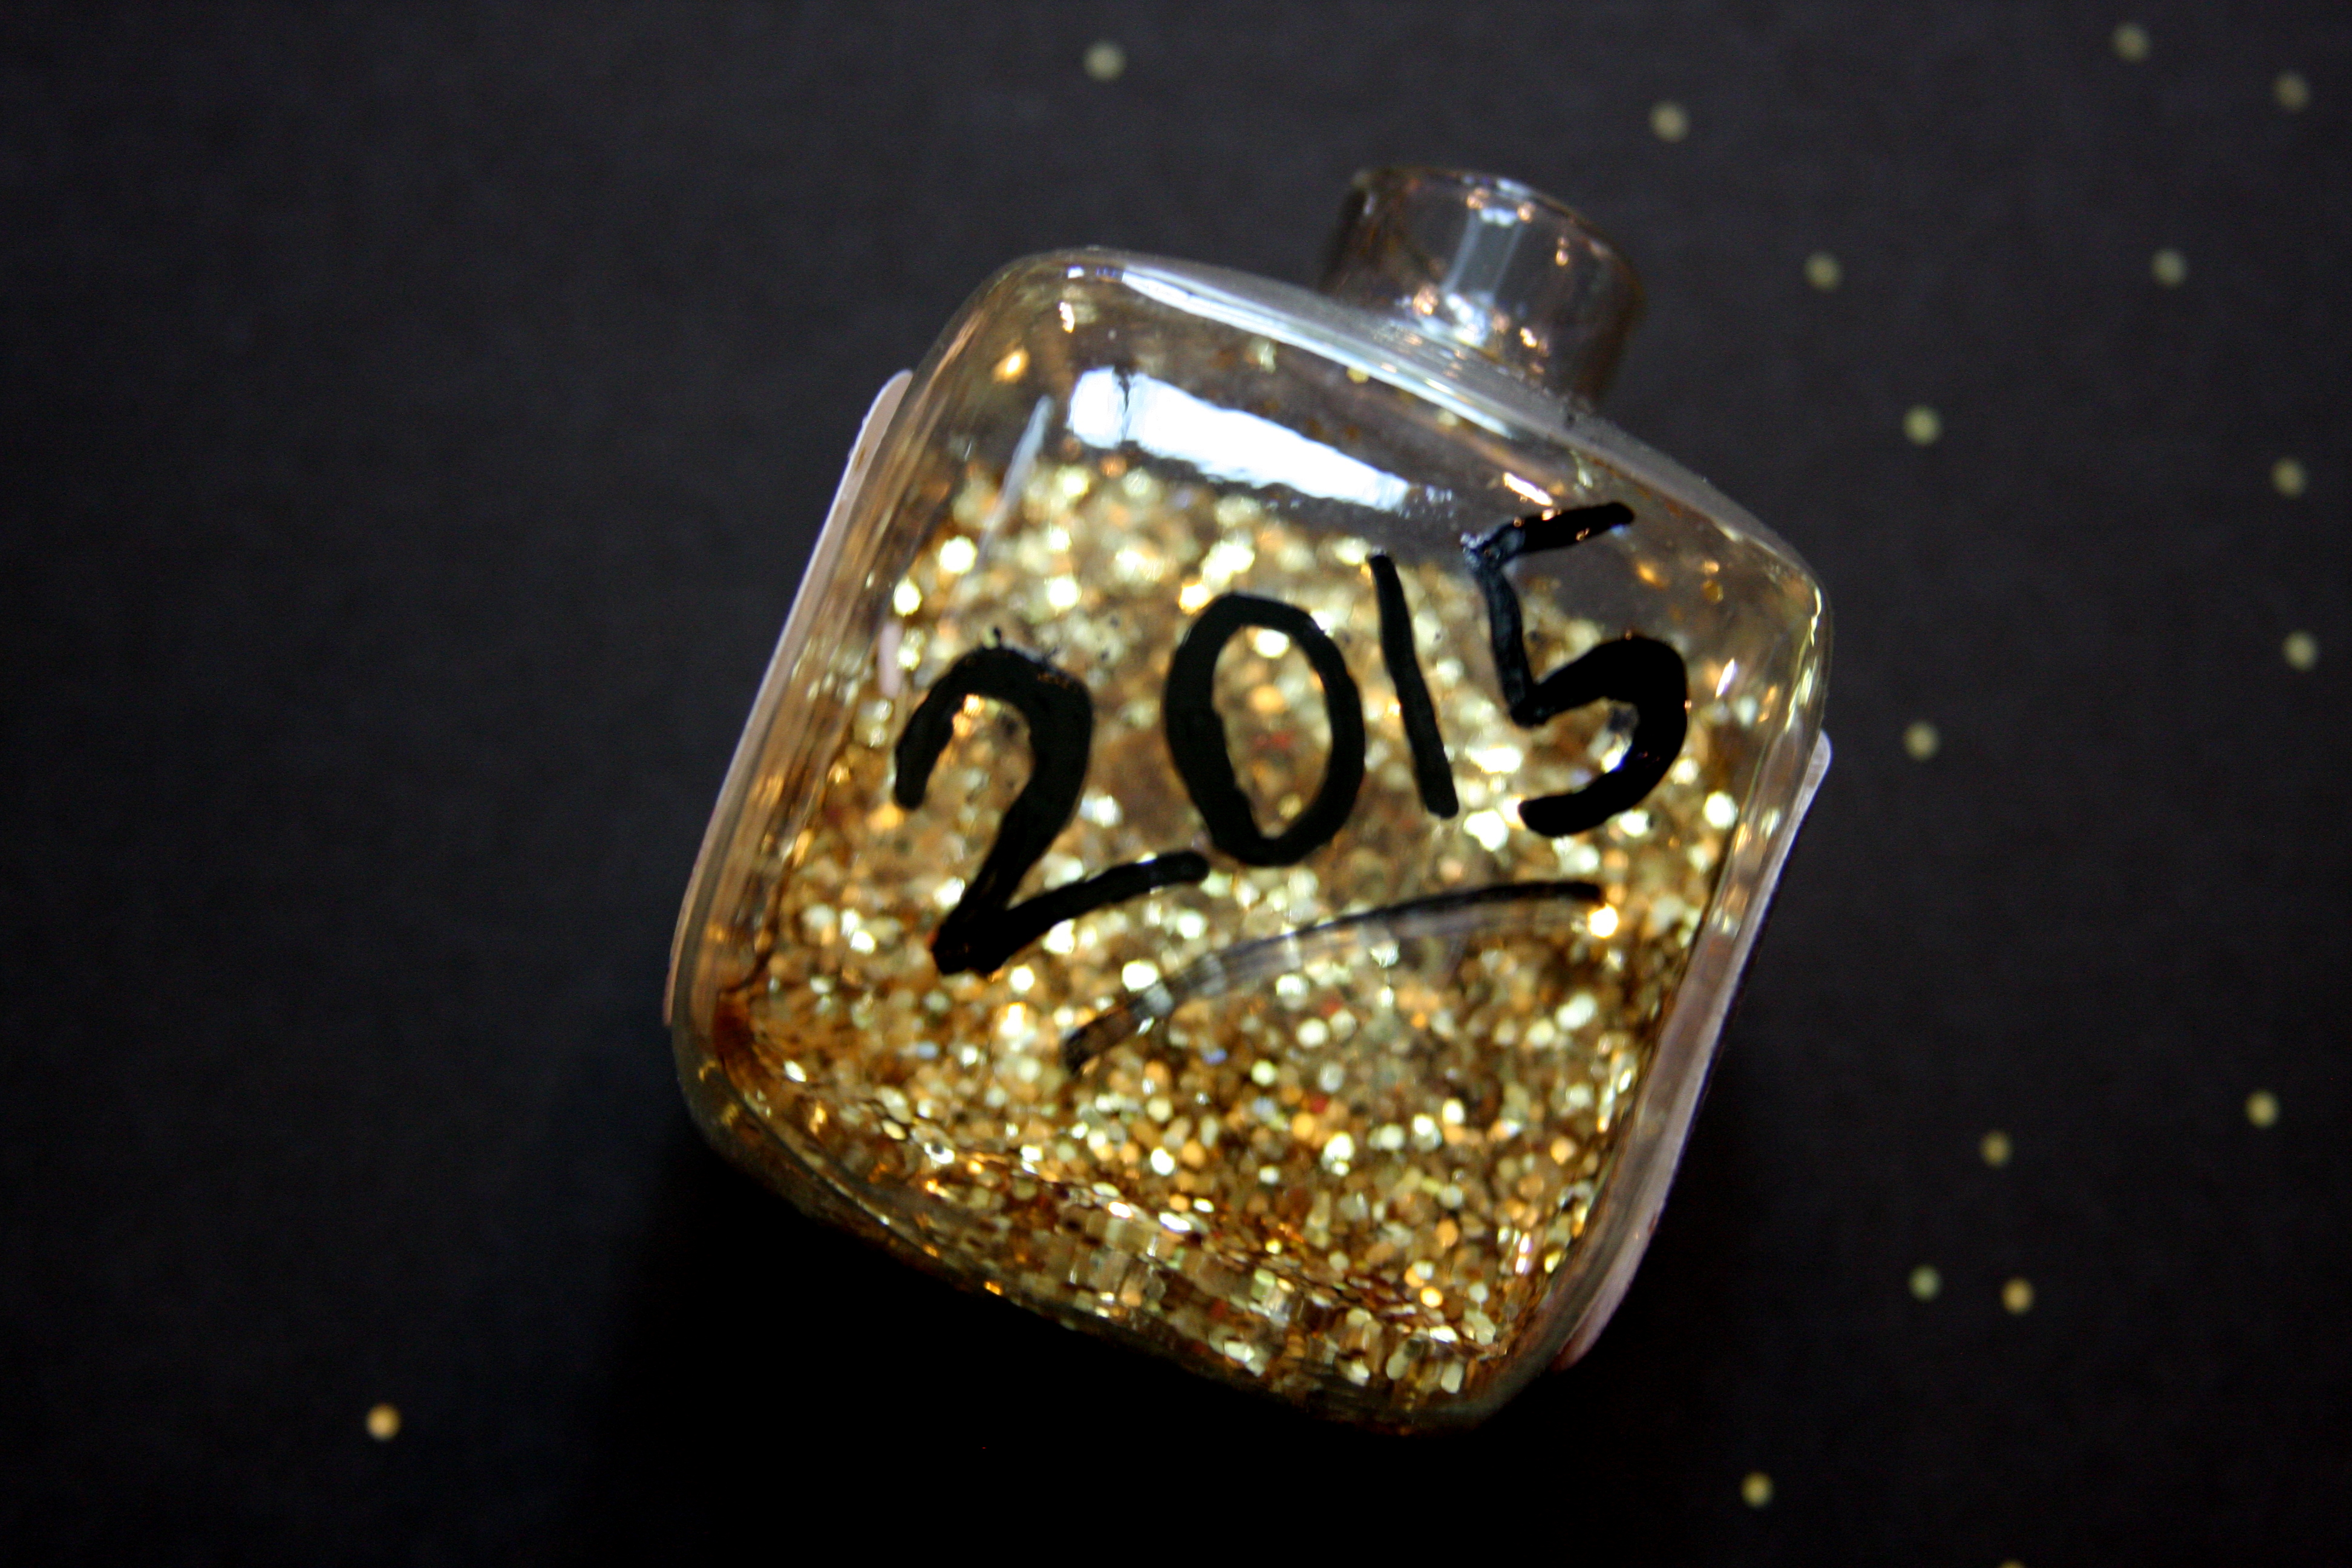
4. On the back and bottom you can add another picture, but I decided to use a paint pen to write the year (these were my kids fall pictures from last year). Also, I originally was going to use gold, but the black stood out much better.

5. Replace the metal top, embellish with a ribbon and you have a cute new photo ornament to share or enjoy yourself.
Happy crafting!