When designing a yearbook, many people like to import backgrounds and graphics into the yearbook design program. At Inter-State, we offer many options for page design, but if you have found additional images that go with your theme, here are some tips and tricks to upload those photos and use them within the Wizard design program.

![]()
STEP 1: Log in to Wizard by going to yearbookwizard.com
STEP 2: Go to the “Edit Pages” tab in the drop down under “Yearbook”
 STEP 3: Hit the “Upload Images” button and a box will pop up where you can create a new folder (Name your folder for the page or theme, such as backgrounds, clipart, etc.) This will allow easy access to any image you need when you are editing a specific page.
STEP 4: Choose the appropriate folder & browse to your files for the yearbook images you want to upload.
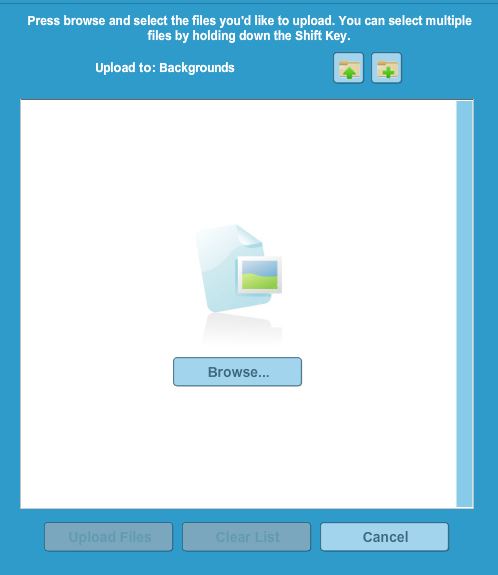
STEP 5: Upload & Done! Congratulations!
Here are a few other helpful tips to keep in mind when uploading images for your yearbook..
- Make sure your file size is 300 dpi or larger. 600 dpi is ideal if you can get it.
- If you are scanning an image to save and upload, make sure the actual size of the item you are scanning is about the same size as it would be in your 8 1/2″ x 11″ yearbook page.
- If you need to use a scanner but do not have one, you might find one in the nearest office supply store, shipping/packaging places, your school computer department or maybe the art room of your school.
- Remember to create and download your proof and check all edges to make sure nothing was cut off by the bleed lines.